Trusted Family Dentists in Spokane Valley, WA
Experiencing A Dental Emergency? Call Us: (509) 922-1360
You'll never have to wait for the urgent dental care you need — Hymas Family Dental reserves time each day for same-day emergency dentist appointments! Contact us for fast, gentle relief from tooth pain, damage, injury, broken restorations, and more.
What Our Patients Are Saying
"Dr. Hymas is very caring and competent. He has helped me with many of my dental issues over the years. He has great staff and they are all very friendly and helpful. I recommend 100%!"
"Excellent care, Professional, always have taken into account my input as a patient. Friendly, always accomodating to my scheduling needs. Trustworthy and honest about any dental work that has been done, as well as future needs for my Dental health."
"Great dentist and outstanding staff. Always reminds you of appointments. Never have to wait. All work can be done there. Highly recommend. Have been a patient for several years and have been very happy!"
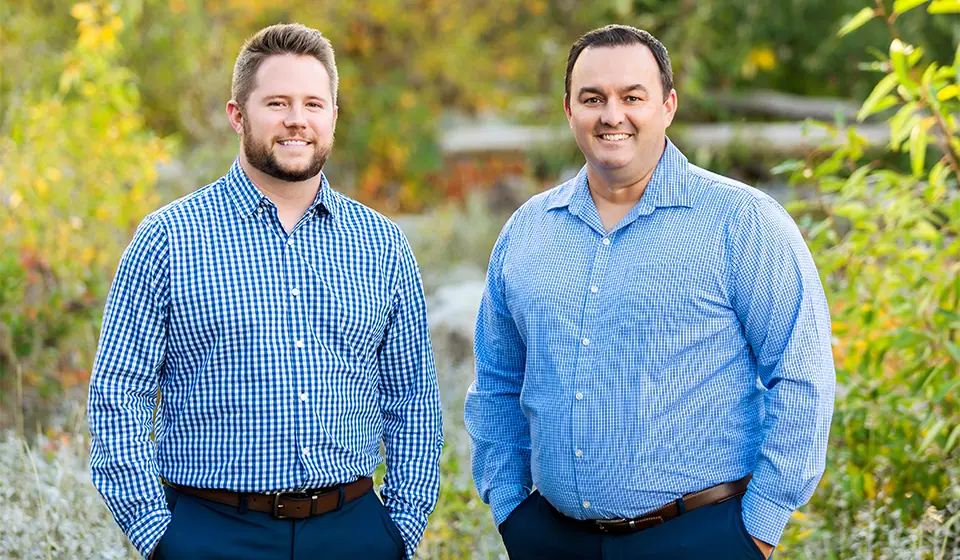
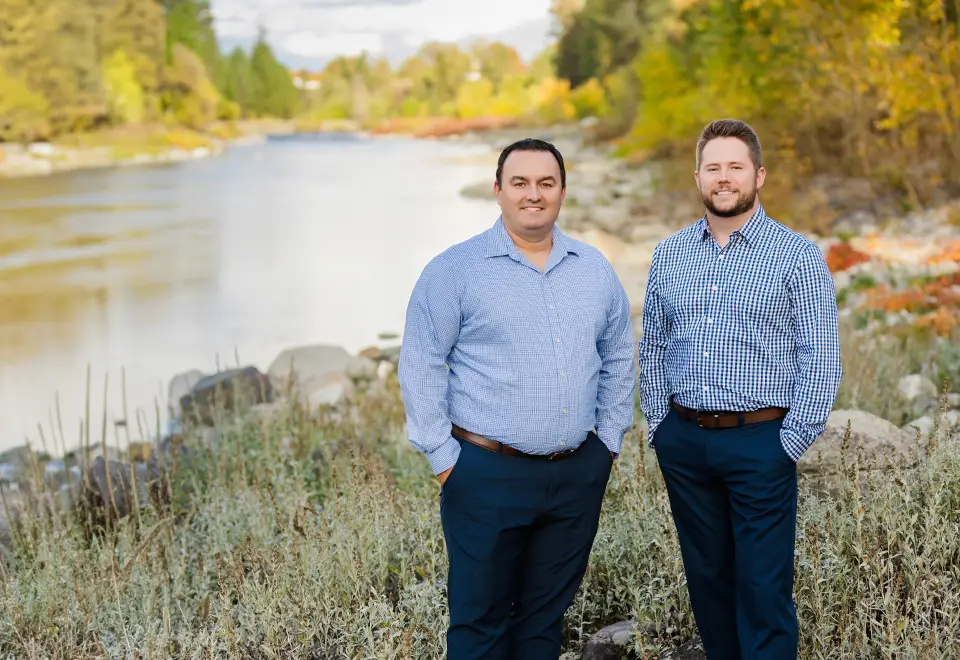
Meet Your New Dentists
Welcome to Hymas Family Dental, your dentist in Spokane Valley, WA! Dr. Chet Hymas and our experienced staff are dedicated to helping you improve your smile. Equipped with top dental tools and technologies, we are eager to help you and your family achieve optimal oral health.
Special Offers
At Hymas Family Dental, we are committed to helping each patient receive the treatment they deserve.
Offers Expire: April 30th, 2024
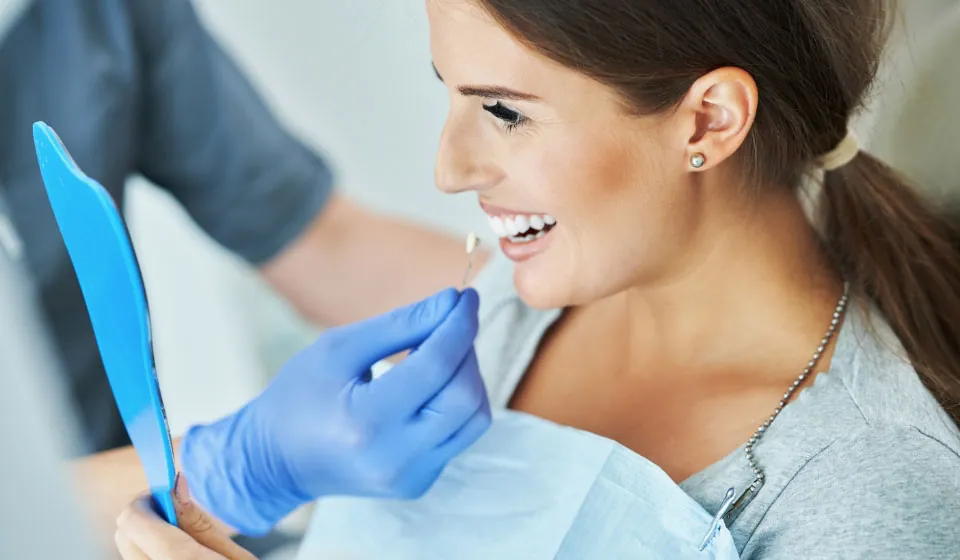
Your Cosmetic and Restorative Dentist
We are proud to provide comfortable, painless dental care to all of our patients, and we are pleased to offer both cosmetic dentistry and restorative dentistry. Whether you are in need of a simple cleaning or a complex treatment, we are certain that we can meet your needs to restore your oral health.
Dedicated to Your Safety and Comfort
From start to finish, Dr. Hymas and his skilled team demonstrate genuine care for the safety and comfort of our patients at every visit. We treat you like family because, to us, you are! When you visit our office, you can relax knowing your smile and your family’s smiles are in good hands.
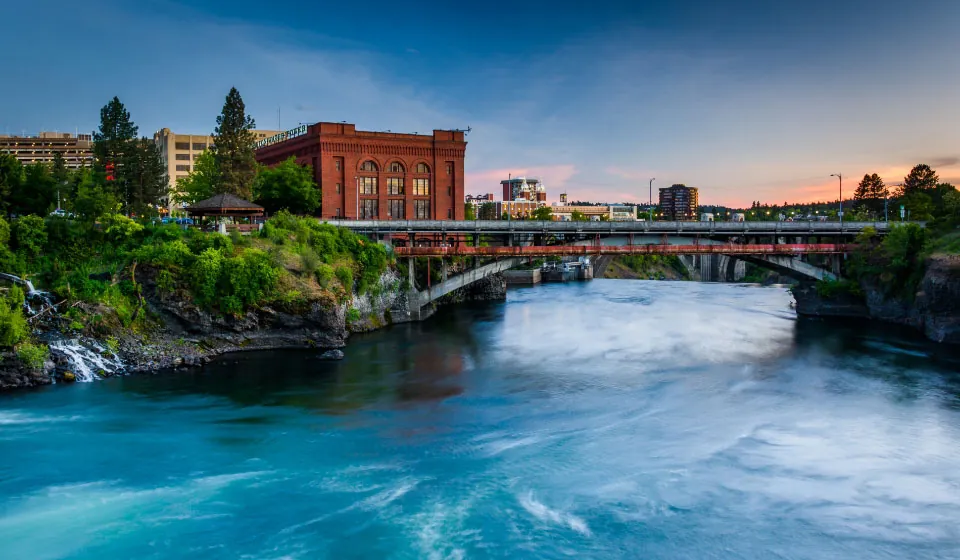
Conveniently Located in Spokane Valley
Hymas Family Dental is conveniently located to treat patients of all ages in Spokane Valley and beyond! Every member of the family is welcome to join us in our modern, comfortable facility for same-day dentistry, early morning appointments, and more.
Featured Services

Dental Implants
If you have lost or missing teeth, permanent dental implants are a top treatment option for restoring a healthy, complete, natural-looking smile.
Same-Day Crowns
Our same-day crown system makes it easy to repair your tooth in a single visit! Damaged teeth can restored on the same day as your appointment, thanks to state-of-the-art CEREC technology.
Invisalign
Invisalign makes transforming your smile easy with their clear braces system! We offer clear aligner orthodontics for adults and teens who are looking for healthy, natural-looking results, without metal braces.Visit Us Today
420 N Evergreen Rd #400, Spokane Valley, WA 99216 (509) 922-1360- Monday:
- 7:30am - 4:00pm
- Tuesday:
- 7:30am - 5:00pm
- Wednesday:
- 7:30am - 4:00pm
- Thursday:
- 7:30am - 4:00pm
- Friday:
- By Appointment